Hey everyone!
This past weekend I was at a garage sale and purchased two huge boxes full of jars (including some vintage, blue and clear mason jars with glass lids that I'm really excited about!). Both boxes cost me only $5! When I got home I discovered that there were 14 small (and extremely cute) glass jars that were probably used at one point for jam or something. I thought these jars would make perfect juice glasses and so this project was born. Check out the instructions and pictures below on how I made personalized juice glasses from old jars.
The before and after shots:
First things first, you need to get some jars. You may have a nice set lying around your house already. If not, garage sales and thrift stores are your new best friend! This project can also be made with store-bought glasses. To keep this project budget-friendly, check out a dollar store (my dollar store of choice is "Dollarama") for some cute, albeit cheap, glasses.
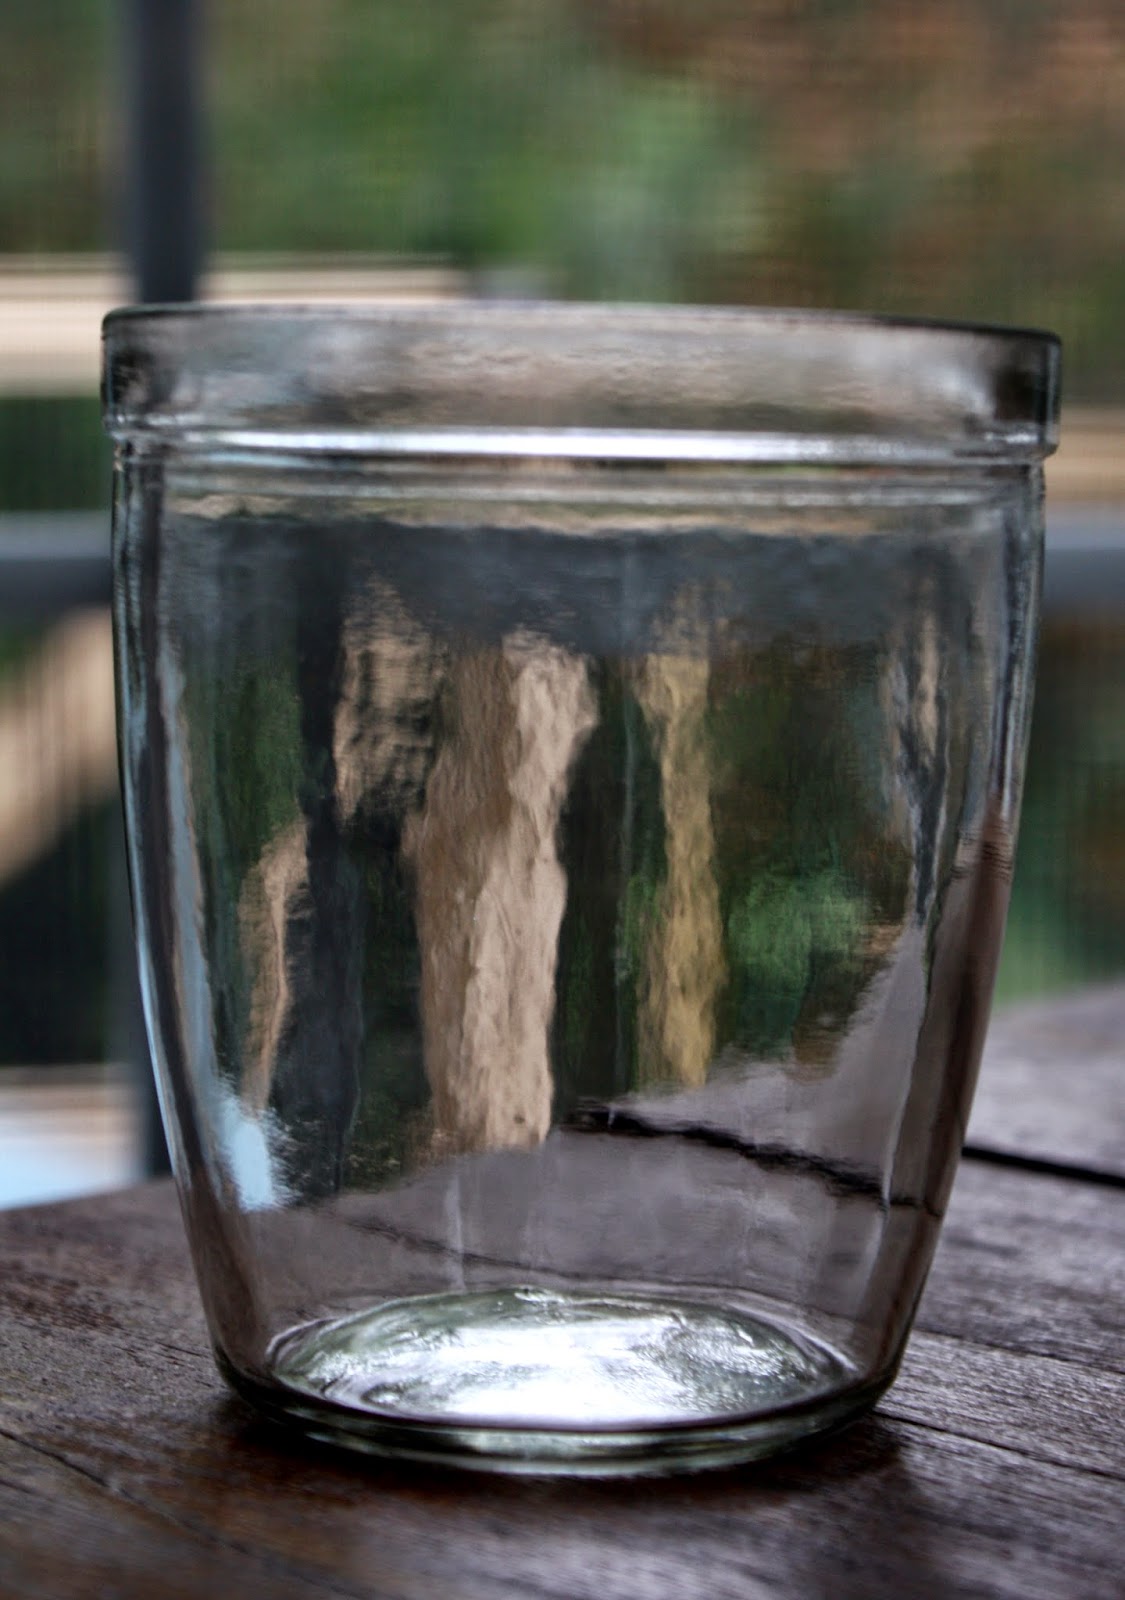
My jars looked like this:
After you find the perfect jars, you'll need to gather the rest of your supplies.
Materials needed:
Jars or glasses of your choice
Tape (I used painter's tape)
A marker that can write on glass
Stencils for tracing
Scissors
For my tracing paper, I first downloaded a font from a font website (I use fontspace) and the font I chose is called "VintageOne". After I had my font, I typed up the phrases in Microsoft Word and then printed them out. Once printed, you can cut the phrases into smaller squares that will fit inside your glasses.
For my phrases, I had two different themes I was trying to decide between. The first theme was "Good Morning" written in different languages (For example: English, Spanish, French, German, Igbo, Polish, Japanese and Korean) and the second theme was "Morning Phrases". I chose to centre my juice glass phrases around the morning time as that is when I drink juice. In the end, I decided to go with the morning phrases vs. the different languages.
Once you have all your phrases printed and cut out it's time to tape. Place the phrases facing downwards and put the tape around the edges (sticky side also facing down). I chose to use painter's tape as it's easy to stick on and peel off again.
After you have applied the tape, place you tracing paper inside the glass and get it centred and lined up evenly. It's important to keep in mind that the glass can taper off towards the bottom so you need to take this into account when taping. If you don't, your letters can turn out a little wonky towards the bottom or start off small and get really big.
Once you have everything just perfect, it's time to start tracing.
After you have finished tracing, you can peel off the paper and check out your handiwork!
Once your glasses are complete, let them sit and dry for some time (preferably overnight). The paint marker I used was very quick drying but I still didn't touch my glasses until the next day to be safe.
I would also recommend hand washing only. The glass marker might hold up fine in the dishwasher but it's better to be safe than sorry.
After your glasses are dry, it's time to break them in with some delicious breakfast and juice! Cheers!
All in all, this project took 3 hours of my time and cost me $4.50 to make. I had all the supplies except the jars ($1 from a garage sale) and the glass marker ($3.50 from Michaels after a 50% off coupon). I got 14 juice glasses in total: a set of 6 which I will be keeping, a different set of 6 for a family friend and a set of 2 for another friend.
I hope you enjoyed this post and thank you for checking out my blog! Have a great day! :)


No comments:
Post a Comment